Discover the Benefits of Building Your Own DIY Gun Safe
In an era where personal security is paramount, the need for a reliable and safe storage solution for firearms is indispensable. A diy gun safe not only provides a secure way to store firearms but also allows individuals to express their creativity and craftsmanship. This article delves deeply into the various aspects of constructing your own gun safe, exploring materials, designs, and essential tips that will ensure your safe is both effective and personalized.
Understanding the Importance of a Firearm Storage Solution
Owning firearms comes with the responsibility of ensuring they are stored safely to prevent unauthorized access, especially if there are children in the home. A DIY gun safe addresses these concerns by offering a custom solution tailored to your specific needs. The following points underscore the significance of having a well-built gun safe:
- Security: A DIY gun safe can provide enhanced security features that deter theft and unauthorized access.
- Customizable: Creating your own safe allows you to tailor the size, style, and features according to your preferences.
- Cost-Efficient: Building your own firearms storage saves money compared to purchasing pre-made safes.
- Personal Project: Constructing a gun safe can be a rewarding DIY project that showcases your skills.
Choosing the Right Materials for Your DIY Gun Safe
When embarking on your DIY gun safe project, selecting the right materials is crucial for creating a durable and secure storage solution. Below are some recommended materials:
1. Steel
Steel is the most commonly used material for gun safes due to its strength and durability. Using quality steel ensures resistance to break-ins and ensures the longevity of your safe.
2. Plywood or Solid Wood
If you prefer a more traditional look, solid wood or plywood can be used to create a beautiful and functional gun safe. Make sure to choose hardwood for added strength.
3. Locking Mechanisms
Incorporate reliable locking mechanisms such as digital locks, combination locks, or key locks. Ensure that the locking system you choose offers maximum security.
Essential Tools for Building Your DIY Gun Safe
Having the right tools is critical for any DIY project. Here’s a list of essential tools you will need to successfully build your own gun safe:
- Drill – For creating holes for screws and locks.
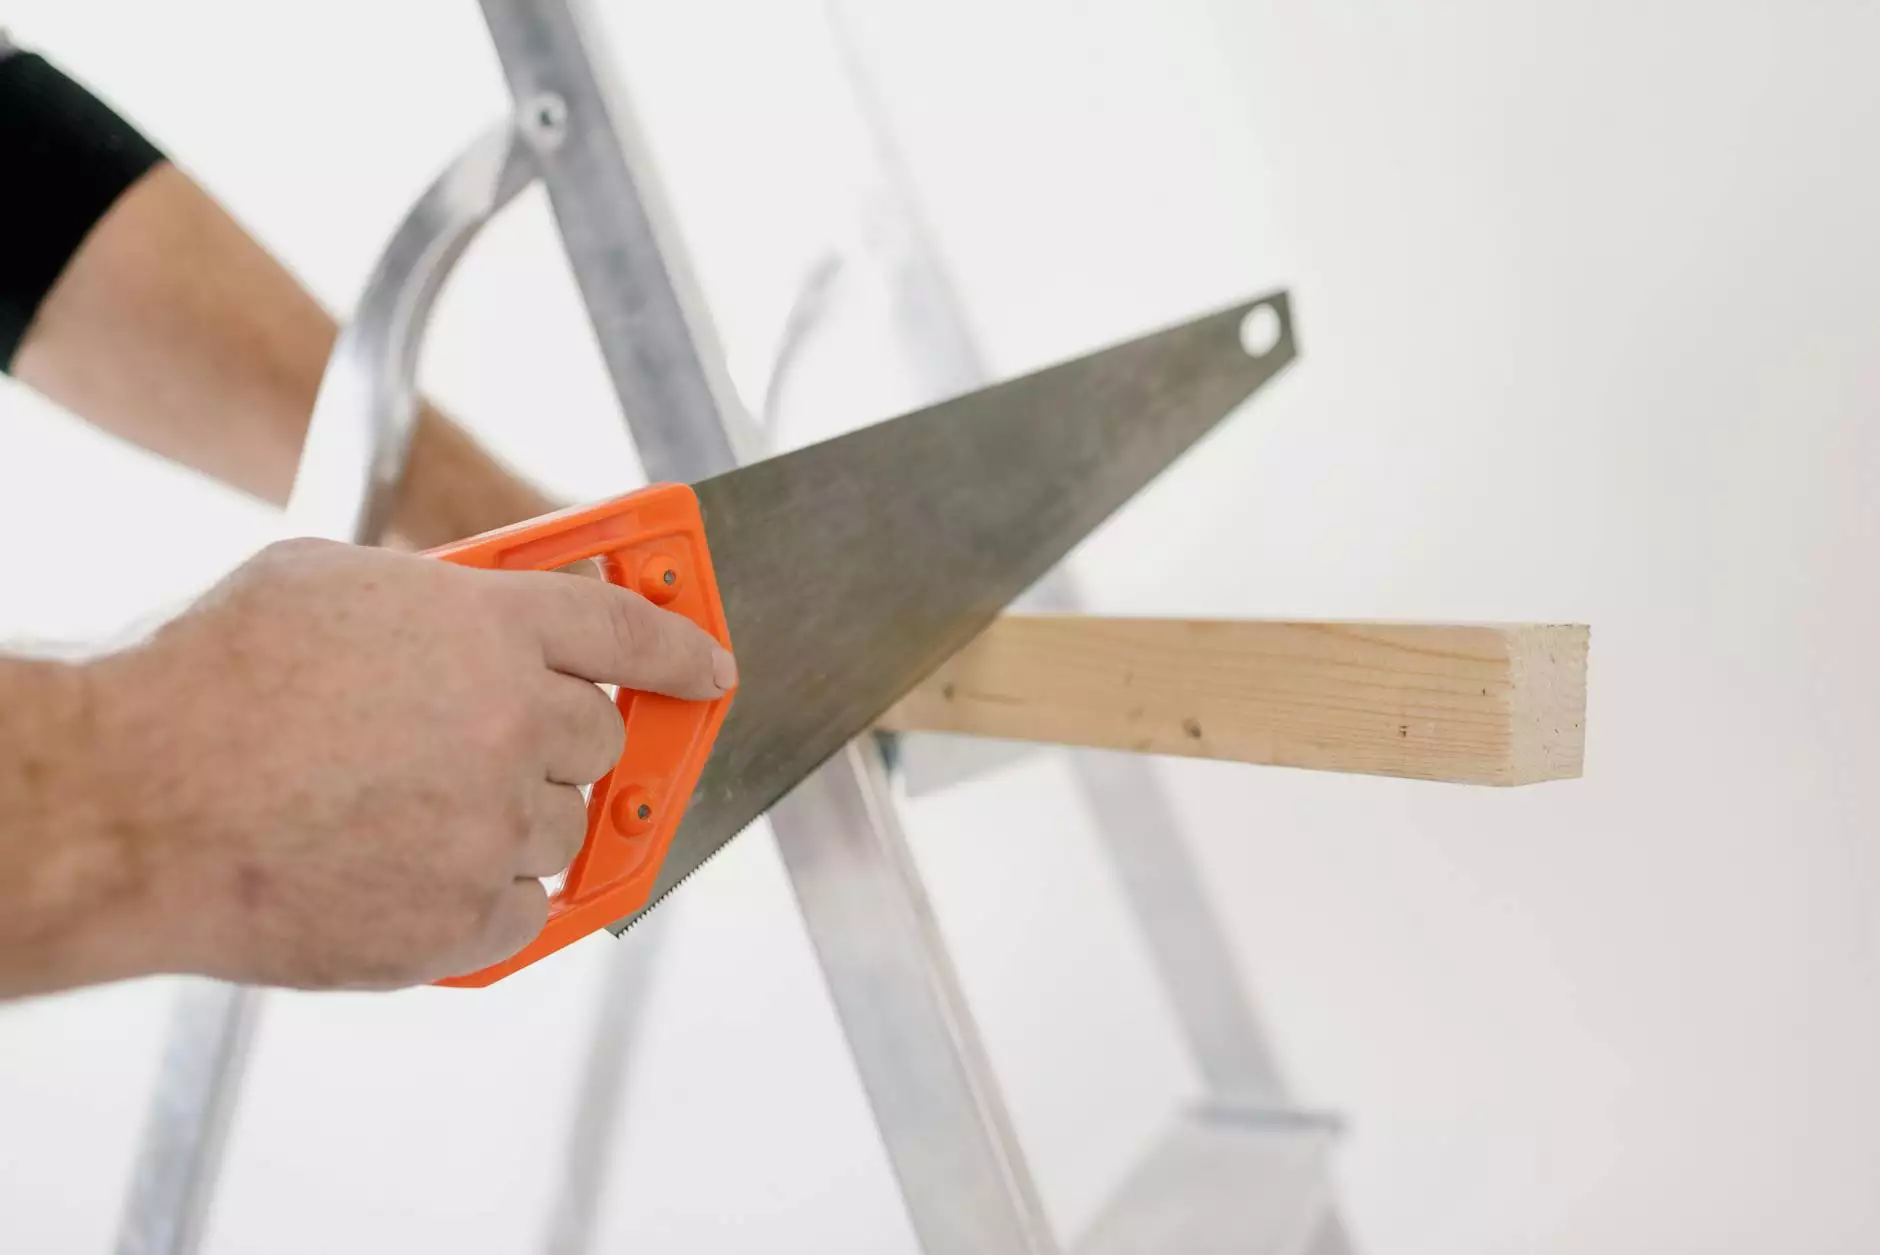
- Saw – A power saw will help cut through wood or metal as needed.
- Screwdrivers – For assembly and securing your safe.
- Measuring Tape – Accurate measurements are key to a snug and secure fit.
- Level – To ensure your safe is positioned correctly when installed.
Designing Your DIY Gun Safe
Now that you understand the importance, materials, and tools, it’s time to discuss the various designs you can consider for your diy gun safe. Here are some popular designs you can explore:
1. Wall-Mounted Gun Safe
A wall-mounted gun safe is an excellent option for saving space. It blends seamlessly into your home’s décor and makes accessing your firearms easy while keeping them secure.
2. Standalone Safe
This is the traditional type of safe that is often bolted to the floor for added security. These safes offer ample storage space for guns, ammunition, and accessories.
3. Hidden Gun Safe
Creating a hidden gun safe can be a fun project. Options include converting furniture (like a cabinet or a bookcase) into a concealed storage area.
Step-by-Step Guide to Building Your Own Gun Safe
To provide you with a comprehensive idea of how to create a diy gun safe, here’s a straightforward step-by-step guide:
Step 1: Planning and Design
Begin by sketching a design based on your storage needs. Determine the size of the safe, type of locking mechanism, and what materials you will use.
Step 2: Gather Materials
Purchase all the materials and tools you’ll need based on your design. Ensure that you have durable materials that meet safety requirements.
Step 3: Cut and Assemble
Using your power saw, cut the components according to your design specifications. Assemble the main structure of the safe using screws and bolts as needed.
Step 4: Install the Locking Mechanism
Before fully closing up your safe, install your chosen locking mechanism, ensuring it operates smoothly.
Step 5: Final Touches
Sand down any rough edges, paint or finish your safe, and then install any additional features like shelves or hooks for organizing your firearms and accessories.
Ensuring Maximum Security for Your Gun Safe
Once your diy gun safe is complete, consider additional security measures to enhance its effectiveness:
- Bolting Down: Secure the safe to the floor or a wall to prevent it from being moved or stolen.
- Alarm System: Consider integrating a security alarm system that detects unauthorized access.
- Surveillance Cameras: Installing cameras around the safe can provide an extra layer of security.
Benefits of a DIY Approach
Building your own safe has numerous advantages:
- Mastery of Skills: Enhance your woodworking and metalworking skills during the construction.
- Personal Satisfaction: Take pride in knowing that you built something that keeps your loved ones safe.
- Flexibility: Adjust your project according to your specific needs without the constraints of pre-manufactured options.
Final Thoughts on DIY Gun Safes
Creating your very own diy gun safe is not just about storing firearms securely; it is also about embracing the art of DIY craftsmanship. With the right materials, tools, and designs, anyone can construct a safe that meets their unique requirements. Remember to prioritize security throughout the process, and enjoy the satisfaction that comes with building something of value. Start your DIY project today and take control of your firearms storage in a secure, creative way.